Using Shared Drone Images for Effective Owner Updates
Why Shared Site Imagery Matters for Owner Updates
Keeping property owners informed during a construction project can feel like a constant back-and-forth of phone calls, emails, and site visits. One of the most effective ways to streamline this communication is by using shared aerial imagery and site photos. When you provide regular visual updates through a project portal, owners can see progress firsthand without needing to be on-site. This builds trust and reduces misunderstandings about timelines or unexpected changes.
The key is to organize these updates so they are clear, consistent, and easy to access. Rather than sending a batch of unlabeled photos, you can structure your owner updates around a series of steps that guide the viewer from the big picture down to specific details. Below is a practical how-to approach for using construction progress photos in your owner communications.
Step 1: Establish a Capture Timeline
Before you take any photos, work with your project team to set a regular capture schedule. Weekly or biweekly intervals work well for most projects, but the pace should match the speed of construction. For a fast-moving commercial build, you might need captures every few days. For slower residential work, monthly may suffice.
What to watch for: Make sure the capture timeline aligns with key milestones. For example, you want photos right after foundation work is complete and again after framing. This gives owners a clear before-and-after view that tells the story of progress.
Step 2: Use a Consistent Flight Path
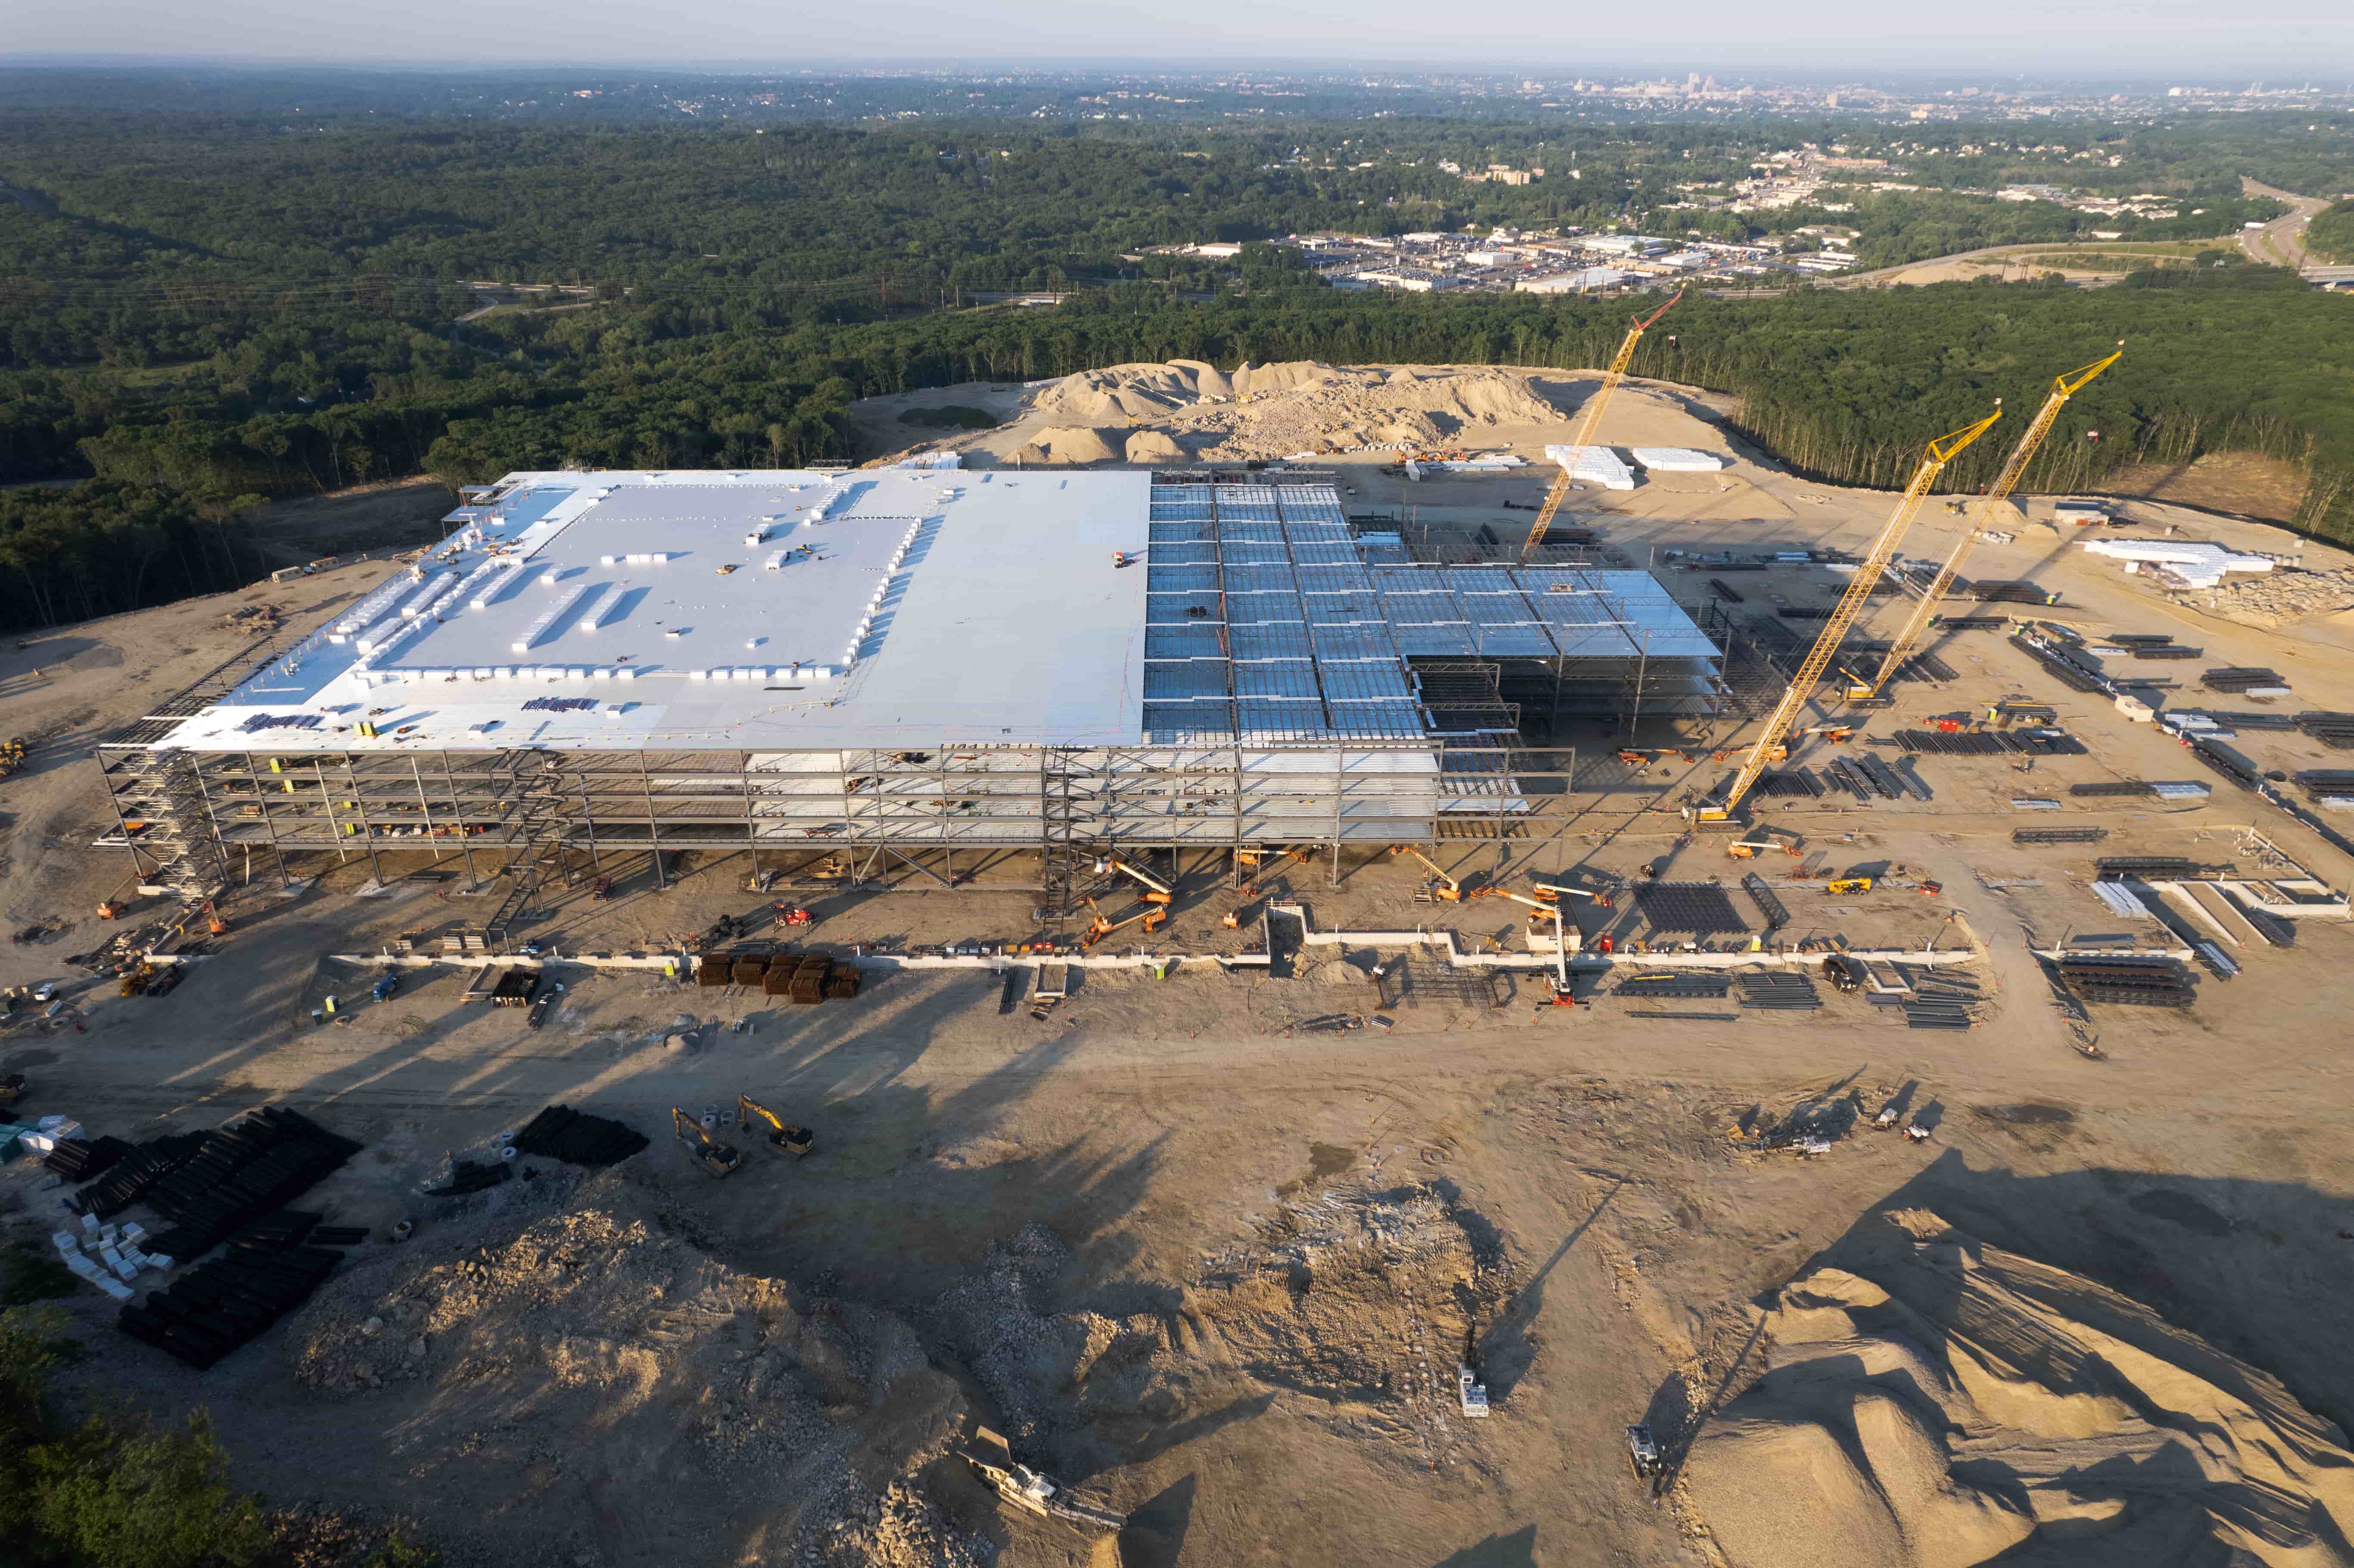
Drone operators should follow a repeatable flight path each time. This consistency means that each set of construction progress photos shows the same angle and altitude. Owners can then compare images side by side to see exactly what has changed. Even small movements of equipment or material deliveries become obvious.
What to watch for: If the operator changes the flight path, the images lose their comparability. Ask for a standardized flight log or use a flight planning app that saves waypoints. This is especially important for larger sites where multiple angles are needed.
Step 3: Organize Photos in a Project Portal
A project portal is a centralized online space where all site imagery lives. Instead of emailing large files, you can give owners shared access to a folder or gallery. The portal should be sorted by date and labeled with the capture timeline so that anyone on the project team can find the latest set quickly.
National Drone Services provides coordinated construction progress drone captures with aerial maps, 3D models, site imagery, and 360 panoramas organized in a project portal. This structure means that owners don’t have to dig through emails or separate drives. They log in, see the latest folder, and review everything in one place.
What to watch for: Check that the portal allows annotation or markup. Marked-up images are powerful for highlighting specific areas of concern or achievement. For example, circling a completed roof section or noting a delay in material delivery on the photo itself saves time during progress meetings.
Step 4: Pair Photos with Brief Written Observations
A photo alone can be ambiguous. A pile of lumber might look like a mess, or it could be staging for the next phase. Include a short site observation with each set of images. This can be a sentence or two that describes what the photo shows and why it matters. For example: “Foundation forms are in place for the east wing. Rebar is scheduled for delivery Thursday.”
What to watch for: Keep observations factual and avoid speculation. Owners appreciate honesty, especially if there is a delay or issue. Use the images as evidence for your notes. If the photo shows a crane on site, the observation should confirm what the crane is doing.
Step 5: Schedule Regular Progress Meetings Around the Imagery
Instead of a weekly call that recaps what everyone already knows, use the shared images as the agenda. Open the project portal and walk through the latest construction progress photos together. This keeps the meeting focused on visual evidence rather than verbal reports.
What to watch for: Make sure all parties have access to the portal before the meeting. It can be frustrating for owners or contractors to join a call and realize they can’t see the images. Test shared access ahead of time. Also, consider including 360 panoramas for a more immersive view. These allow owners to “walk” the site virtually, which is especially useful for remote stakeholders.
Step 6: Archive and Compare Over Time
One of the greatest benefits of a structured image library is the ability to look back. After several months, you can create a time-lapse or side-by-side comparison that shows the entire project lifecycle. This is valuable for final owner handover and for marketing future projects.
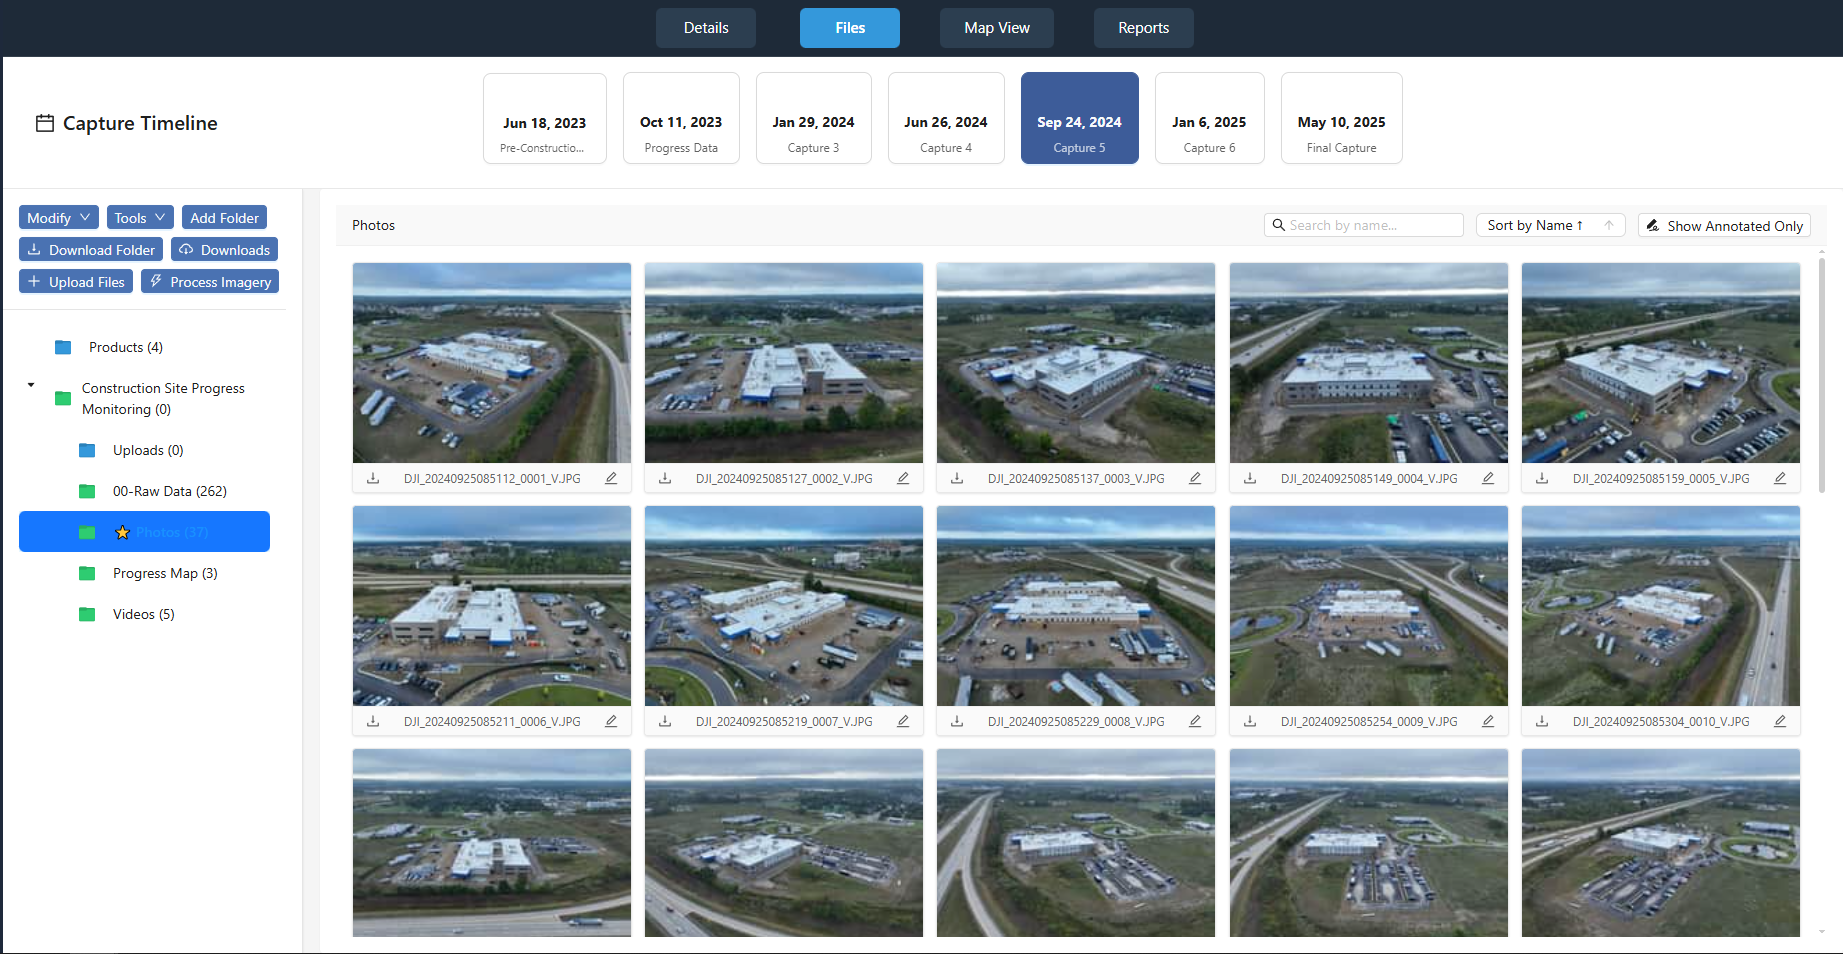
What to watch for: Keep the archive organized by project phase. If you delete old captures to save space, you lose the ability to show progress. Many project portals offer unlimited storage, so take advantage of that. National Drone Services organizes captures in a way that makes this archival easy, so you can pull up images from any point in the build.
Common Pitfalls to Avoid
- Overloading owners with too many images. Stick to 10-15 key shots per update rather than 100 random photos.
- Using blurry or poorly lit images. Quality matters; a bad photo can create confusion or worry.
- Forgetting to label dates. An unlabeled image loses its context. Always include the capture date in the filename or folder name.
- Ignoring the 360 panoramas. These give a sense of space that flat photos cannot, especially for interior work.
Making the Most of Your Construction Progress Photos
Owner updates don’t have to be a chore. With a little planning, you can turn a routine set of drone images into a powerful communication tool. The steps above help you move from scattered emails to a streamlined process that saves time and reduces questions. By using a consistent capture timeline, a project portal, and brief observations, you give owners exactly what they need: a clear picture of where their project stands.
Remember that the goal is clarity, not perfection. Start with a simple system and refine it as you go. Over time, you will build a library of images that tells the full story of the build. That kind of transparency goes a long way in maintaining a positive relationship with your project owners and your entire project team.